
To install a wood fence yourself, start by planning and gathering necessary materials and tools. Next, prepare the fence line and post holes, install the posts and panels, and finish with treatments and regular maintenance.
1. Planning Your Wood Fence Project
Understanding the importance of planning your wood fence project is crucial for achieving a quality result. Proper planning can save time, money, and prevent potential headaches.
First, choose the right type of wood for your project. Cedar is a popular choice due to its durability and resistance to decay. Next, determine your property lines to avoid disputes with neighbors and ensure you’re building within your boundaries. Discuss your plans with neighbors to maintain good relationships.
Check local regulations and permits. Many areas have specific building codes and HOA rules regarding fence design, height, and placement. Ensure you comply before starting.
Plan out your fence layout meticulously. Use graph paper to draw your layout, ensuring full pickets at corners and gate post locations. This helps visualize the project and makes adjustments easier.
Before digging, contact your local utility company by calling 811. They will mark underground utilities to avoid accidental damage.
By thoroughly planning your wood fence project, you’ll set a solid foundation for a successful build, ensuring both functionality and aesthetic appeal.

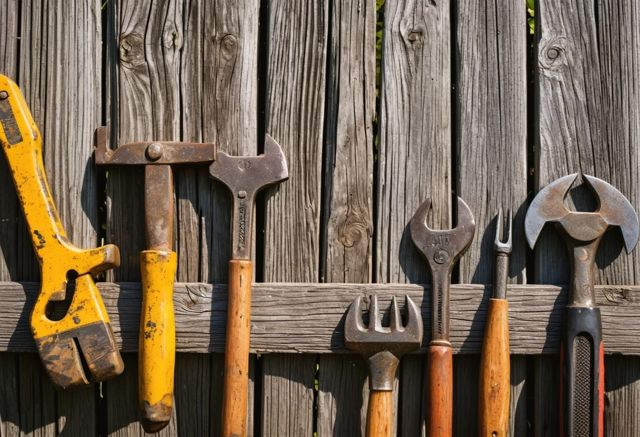
2. Gathering the Necessary Tools and Materials
To begin your DIY wood fence installation, gather all necessary tools and materials. This ensures a smooth process and avoids interruptions. Here’s what you’ll need:
- Posts: Treated wood posts to support the fence.
- Rails: Horizontal rails to connect the posts and support the pickets.
- Pickets: Vertical boards to create the fence panel.
- Nails: Galvanized or stainless-steel nails to prevent rust.
- Concrete: For setting the posts firmly in the ground.
- Woodworking tools:
- Posthole digger
- Hammer or Nail Gun
- Saw
- Level
- Measuring tape
- String line and stakes
- Clamps
Prepare all materials and tools ahead of time to make your project efficient and stress-free. For a smooth installation, having everything organized and within reach is crucial. This also helps achieve the high-quality finish that wood fence installations are known for.
3. Preparing the Fence Line and Post Holes
Preparing the fence line and marking post locations are crucial steps. Start by clearing the area of any debris, rocks, or plants. Ensure the ground is level. Use stakes and string to outline where the fence will stand. Mark the positions for the fence posts, ensuring even spacing, typically 6 to 8 feet apart.
Now it’s time to dig the post holes. Each hole should be about a third of the post height plus 6 inches. For example, for an 8-foot post, dig a 3-foot-deep hole. Use a post hole digger or an auger for this task.
Accurately preparing your fence line and post holes will ensure a strong and stable fence.

4. Installing the Fence Posts and Panels
To begin installing your fence posts and panels:
- Mark Post Locations: Use stakes and string to create a straight line as your guide for marking the locations for each post, ensuring all posts are evenly spaced.
- Dig Holes: Dig the holes for each post to a depth of about a third of the post’s length. Use a post-hole digger for accurate measurements.
- Prepare Holes: Place a few inches of gravel at the bottom of each hole for drainage and stability.
- Set Posts in Concrete: Mix your concrete according to the instructions, filling each hole halfway. Position the post, and then fill the rest of the hole with concrete. Use a level to ensure the post is vertical before the concrete sets.
- Cure Concrete: Allow the concrete to cure for at least 24 hours to ensure the posts are secure.
- Attach Fence Panels: Position each panel against the posts. Use galvanized screws or nails to secure them. Ensure the panels are level by using a carpenter’s level. Consider using brackets or clips for added stability.
Finally, inspect the entire fence for alignment and secure attachment, making any necessary adjustments.

5. Finishing Touches and Maintenance Tips
To achieve a professional finish for your wood fence, consider treating the wood:
- Apply a wood preservative to prevent rot and insect damage.
- Use a sealer to protect against moisture and UV damage.
Painting or staining your fence enhances its appearance and adds protection:
- Choose paints or stains specifically designed for exterior wood.
- Apply at least two coats for a durable finish.
For maintenance, regularly inspect and maintain your fence:
- Check for any signs of damage or wear, such as loose boards or nails.
- Clean the fence with a mild detergent and water to prevent mildew and mold buildup.
For more on our expert craftsmanship and fencing solutions, check out our services.

FAQ
What type of wood is recommended for a DIY wood fence?
Cedar is a popular choice for wood fences due to its durability and resistance to decay.
How can I avoid disputes with neighbors when building a fence?
Determine your property lines and discuss your plans with neighbors to ensure that you’re building within your boundaries and maintaining good relationships.
Are there local regulations and permits I need to check before building my fence?
Yes, check local regulations and permits as many areas have specific building codes and HOA rules regarding fence design, height, and placement.
How do I plan out my fence layout effectively?
Use graph paper to draw your layout, ensuring full pickets at corners and gate post locations. This helps visualize the project and makes adjustments easier.
What should I do before digging post holes?
Contact your local utility company by calling 811 so they can mark underground utilities to avoid accidental damage.
What tools and materials do I need for a DIY wood fence installation?
You need posts, rails, pickets, galvanized or stainless-steel nails, concrete, posthole digger, hammer or nail gun, saw, level, measuring tape, string line and stakes, and clamps.
How do I prepare the fence line and post holes?
Clear the area of debris and plants, level the ground, outline the fence line with stakes and string, and mark post locations every 6 to 8 feet. Dig holes a third of the post height plus 6 inches using a post hole digger or an auger.
How do I install the fence posts?
After digging holes to the appropriate depth, place gravel at the bottom of each hole for drainage and stability. Position the post, fill halfway with concrete, ensure the post is vertical, and fill the rest of the hole. Allow the concrete to cure for at least 24 hours.
How do I attach the fence panels?
Position each panel against the posts, secure them using galvanized screws or nails, and ensure they are level. For added stability, you can use brackets or clips to secure the panels to the posts.
What finishing touches should I consider for my wood fence?
Treat the wood with a preservative to prevent rot and insect damage, and use a sealer or paint/stain designed for exterior wood to protect against moisture and UV damage. Apply at least two coats for a durable finish.
How do I maintain my wood fence?
Regularly inspect the fence for any signs of damage or wear, clean it with a mild detergent and water to prevent mildew and mold buildup, and make any necessary repairs promptly.